Detect

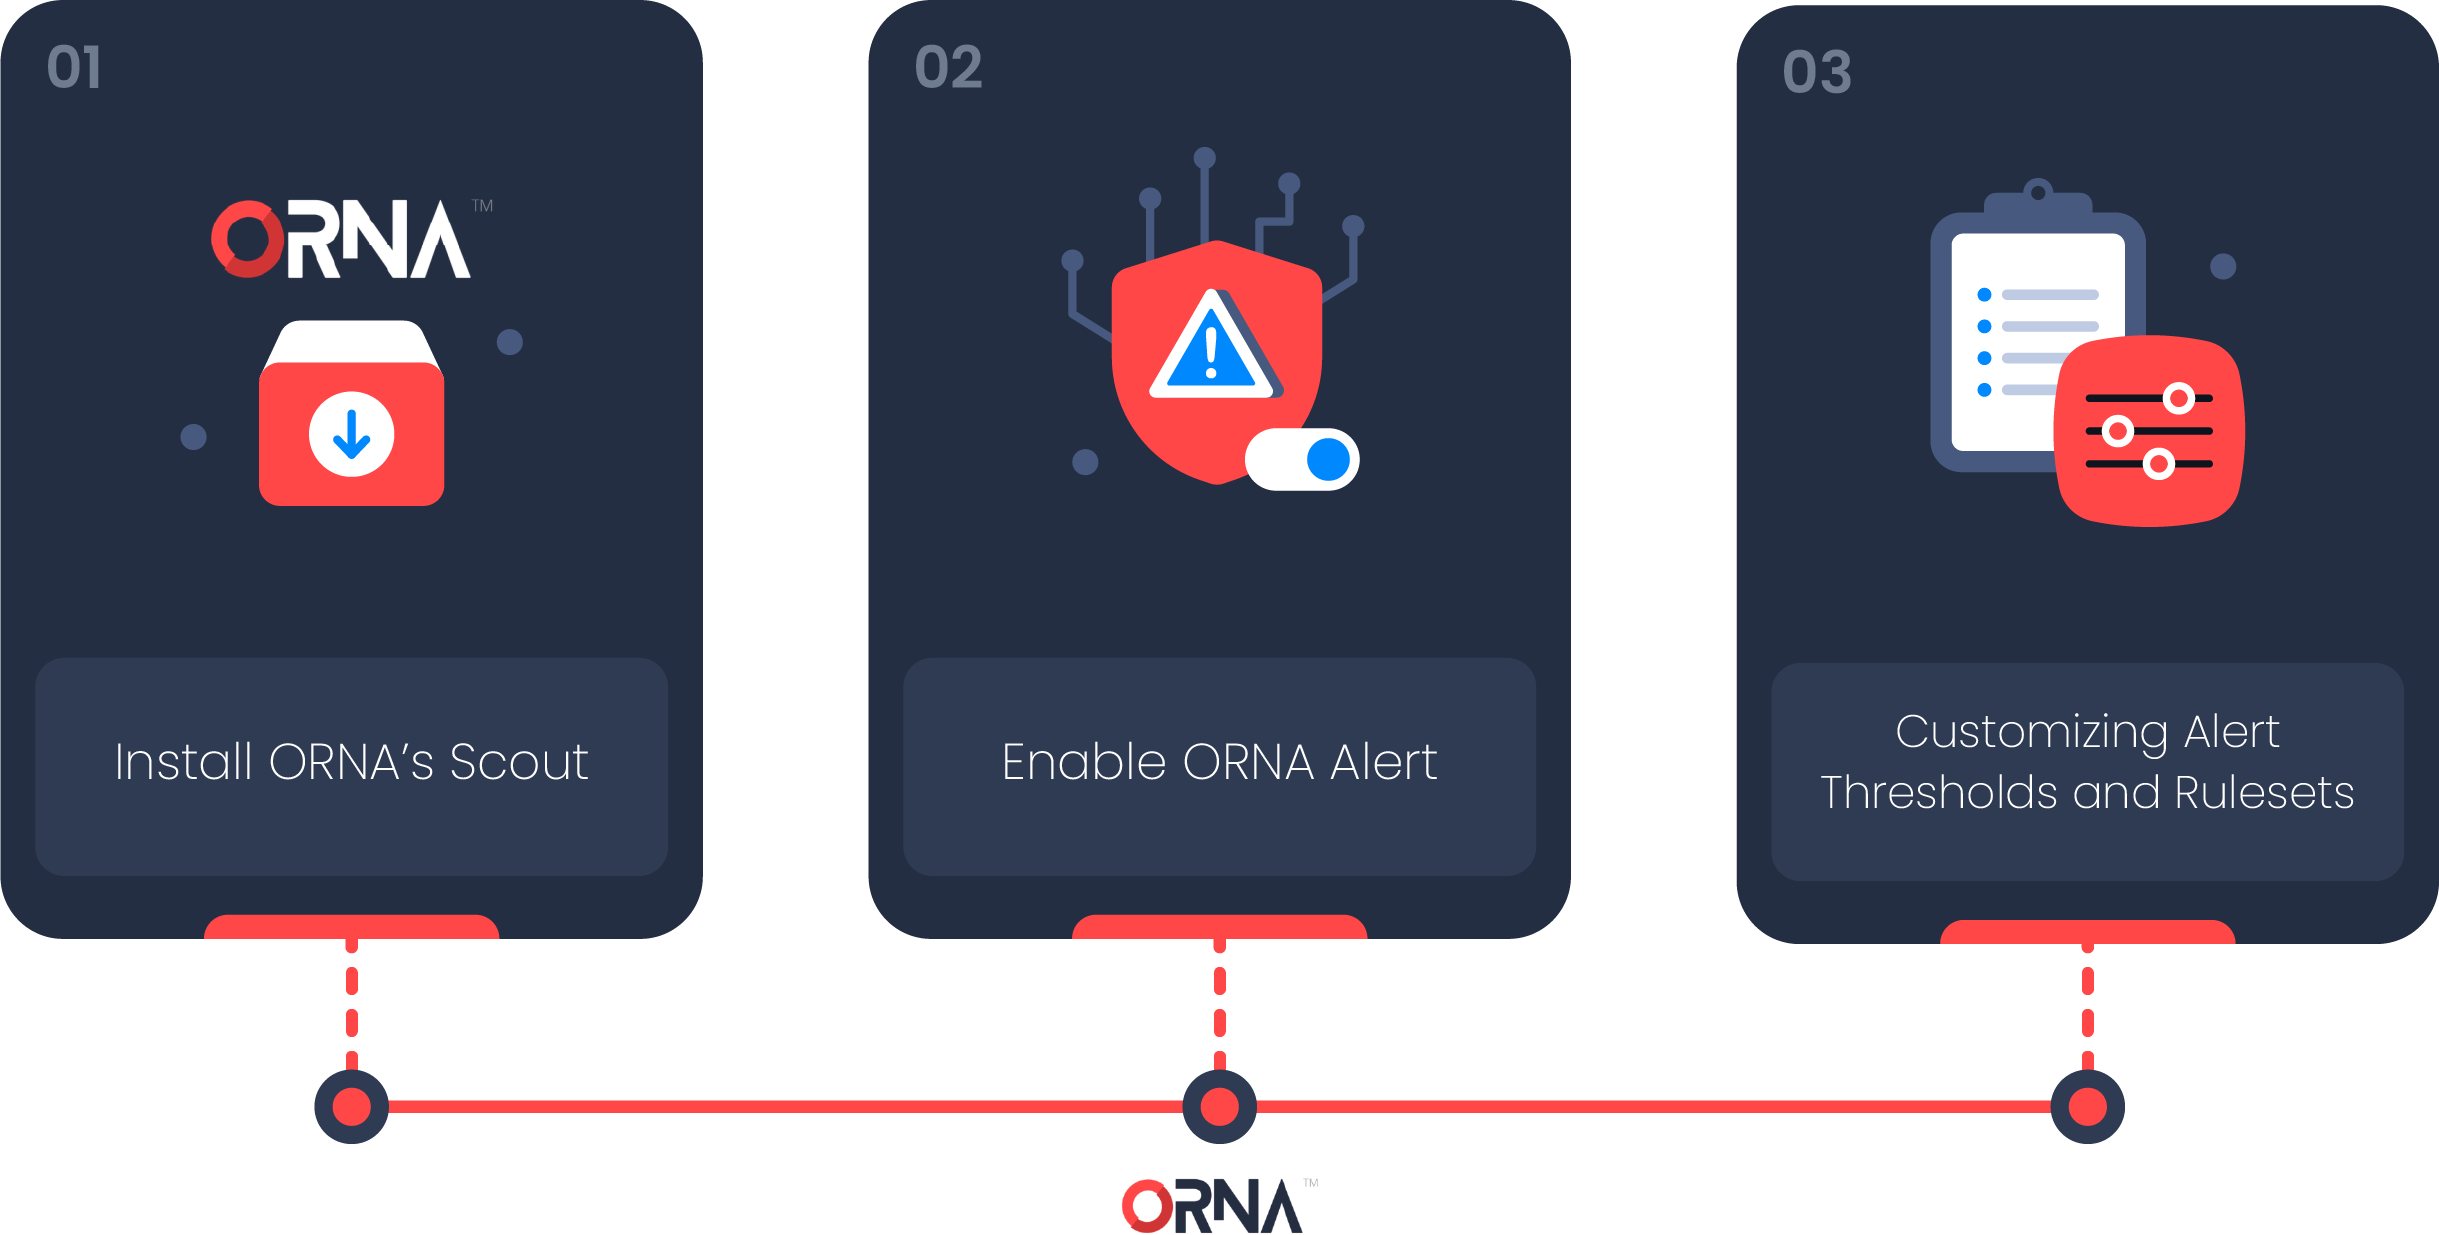
This guide will help you set up 24/7 threat detection and monitoring using ORNA in under 10 minutes.
Step 1: Set up 24/7 threat detection using ORNA Scout
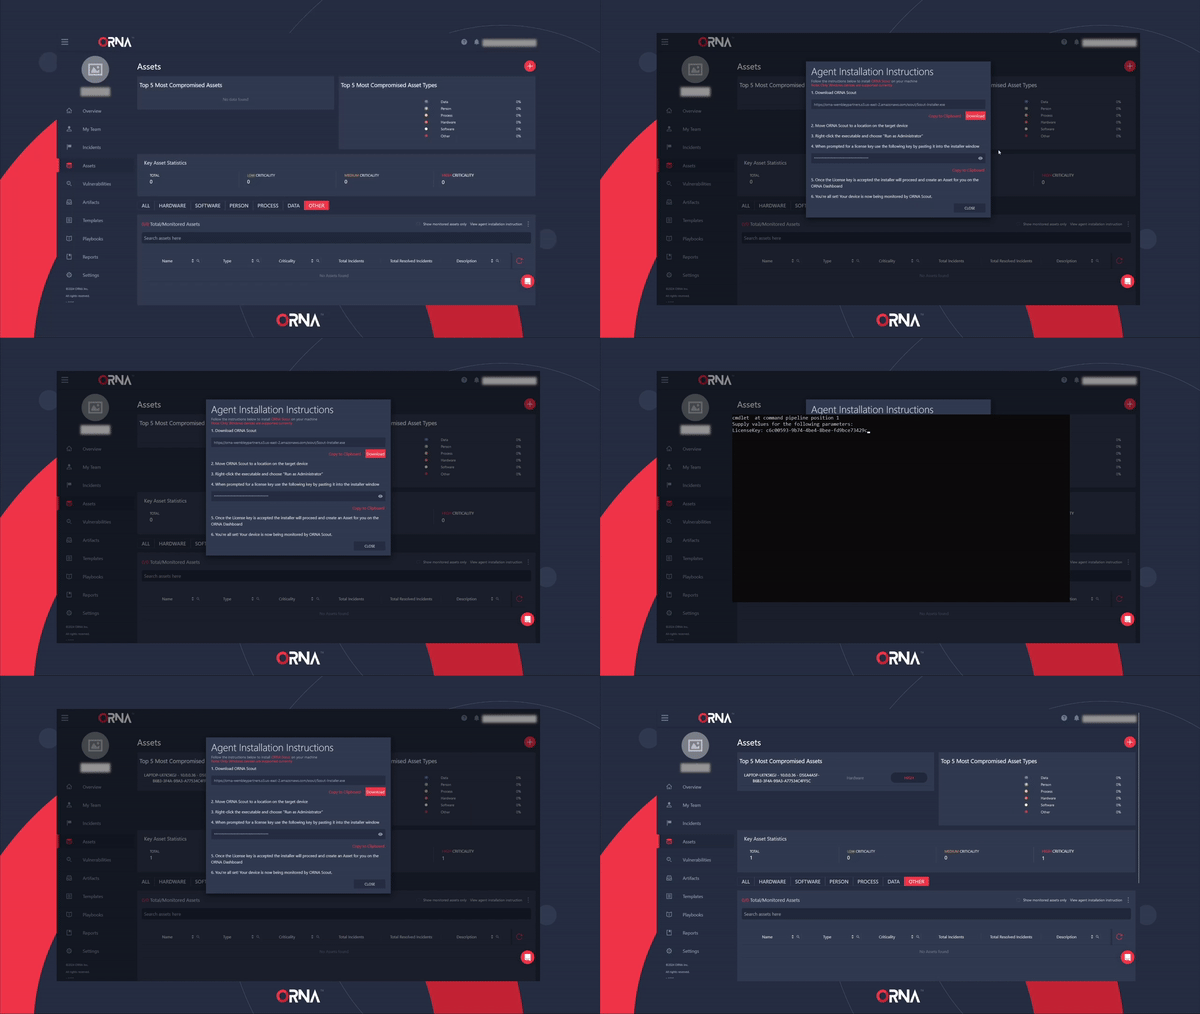
- Navigate to the Assets section and click the View agent installation instructions link at the top right-hand side of the assets table.
- The platform will display a pop-up window with installation instructions for ORNA’s Scout monitoring agent, including downloading the ORNA Scout automatic installer and the License key for using the agent.
- After Scout is installed, it runs continuously in the background, detecting and triaging threats, discovering vulnerabilities, and more.
NoteInstalling Scout on at least a single Asset enables ORNA’s Alerts Dashboard, Vulnerabilities Dashboard, and begins automatic thread detection, de-duplication, triage, and containment functions for all Assets on which the agent is installed.

Automatically installing ORNA's Scout monitoring agent
Step 2: Detect and contain threats with ORNA Alerts
- ORNA’s Alerts Dashboard is enabled and populated in real time via either of the following methods:
- By installing ORNA Scout on at least a single Asset.
- By integrating an available EDR, XDR, SIEM, or SOAR platform (configured in Settings > Manage Integrations).
- Navigate to the Overview > Alerts tab to view the Alerts Dashboard.
- Click on any Alert record in the list to view its details and browse all de-duplicated security Events it contains.
NoteYou can also view any Alert in JSON format for more technical information using the JSON tab in the top right-hand corner of the Alert Details screen.
- You can click on any individual Event to view further details, including Indicators of Compromise if any were detected during automatic triage.
- Click the New Incident or Add to Incident to upgrade (or add) any Alert to an Incident.
- Doing so will activate automatic escalation and notification procedures, invoke the relevant Playbook, and start the Incident resolution process.
NoteTo learn more, view the Incident Management section of this guide.
Step 3: Customize alerting thresholds and rulesets
- Navigate to the Settings section.
- Within the Alert Threshold card, select the level of Alert criticality, between 1 and 15, for which your team members will automatically receive email or SMS notifications per their individual account preferences. Note that setting this threshold too low might result in alert fatigue. We recommend setting it no lower than 10.
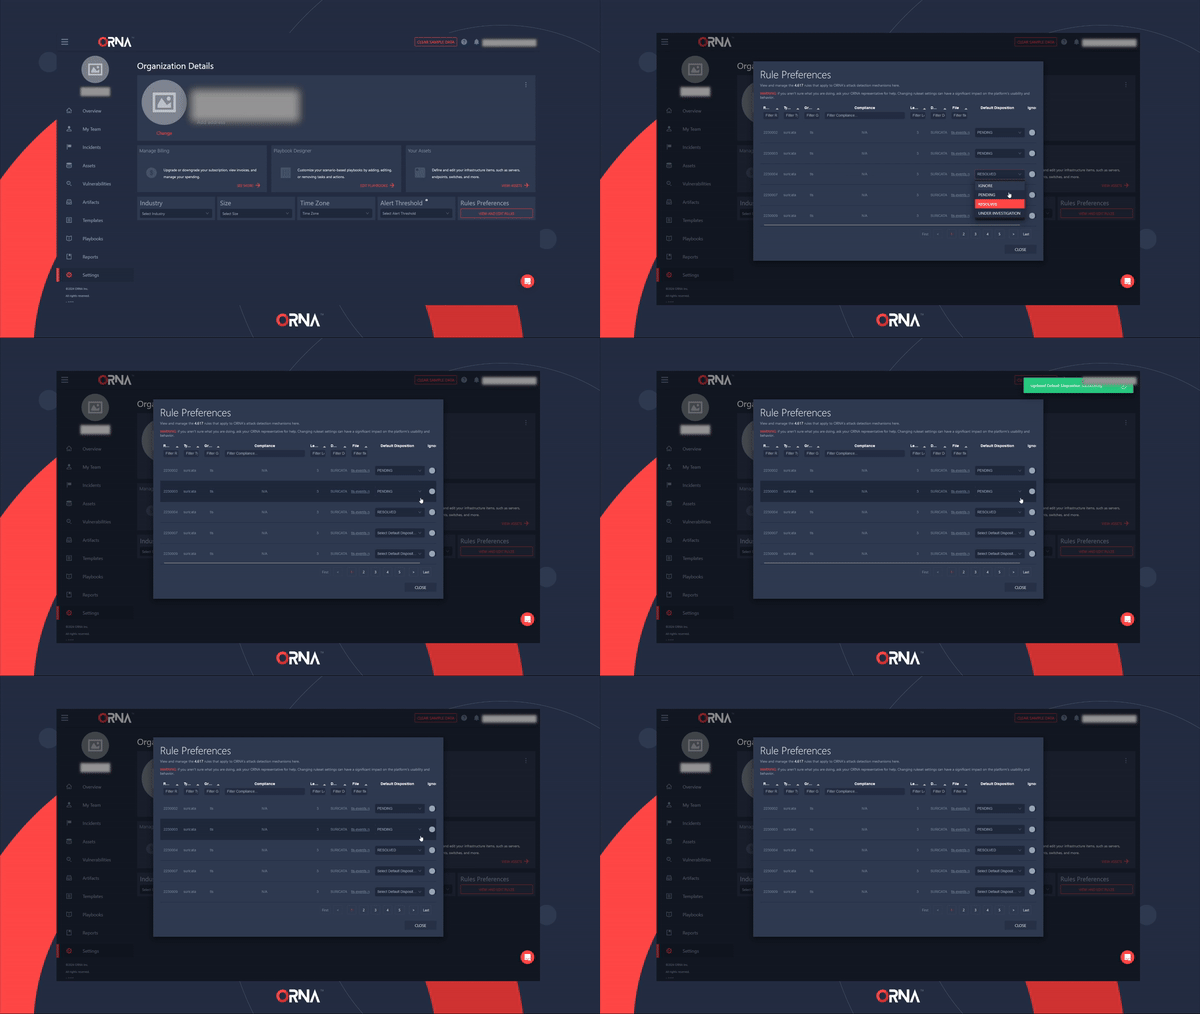
- Click the View and Edit Rules button within the Rule Preferences card.
- Configure the detection ruleset within the pop-up window. You can also set certain rules to “ignore” status, suppressing alerts for known benign events.
NoteIf you aren’t sure about the specifics of customizing the detection ruleset, contact our 24/7 support team using the chat feature in the bottom right corner of the platform, and an expert will assist you.

Configuring Alert rule preferences
Updated 9 months ago
