Quickstart
This guide will help you identify your critical assets and their risk-scored vulnerabilities, begin 24/7 threat monitoring, and browse a sample incident in under 10 minutes.
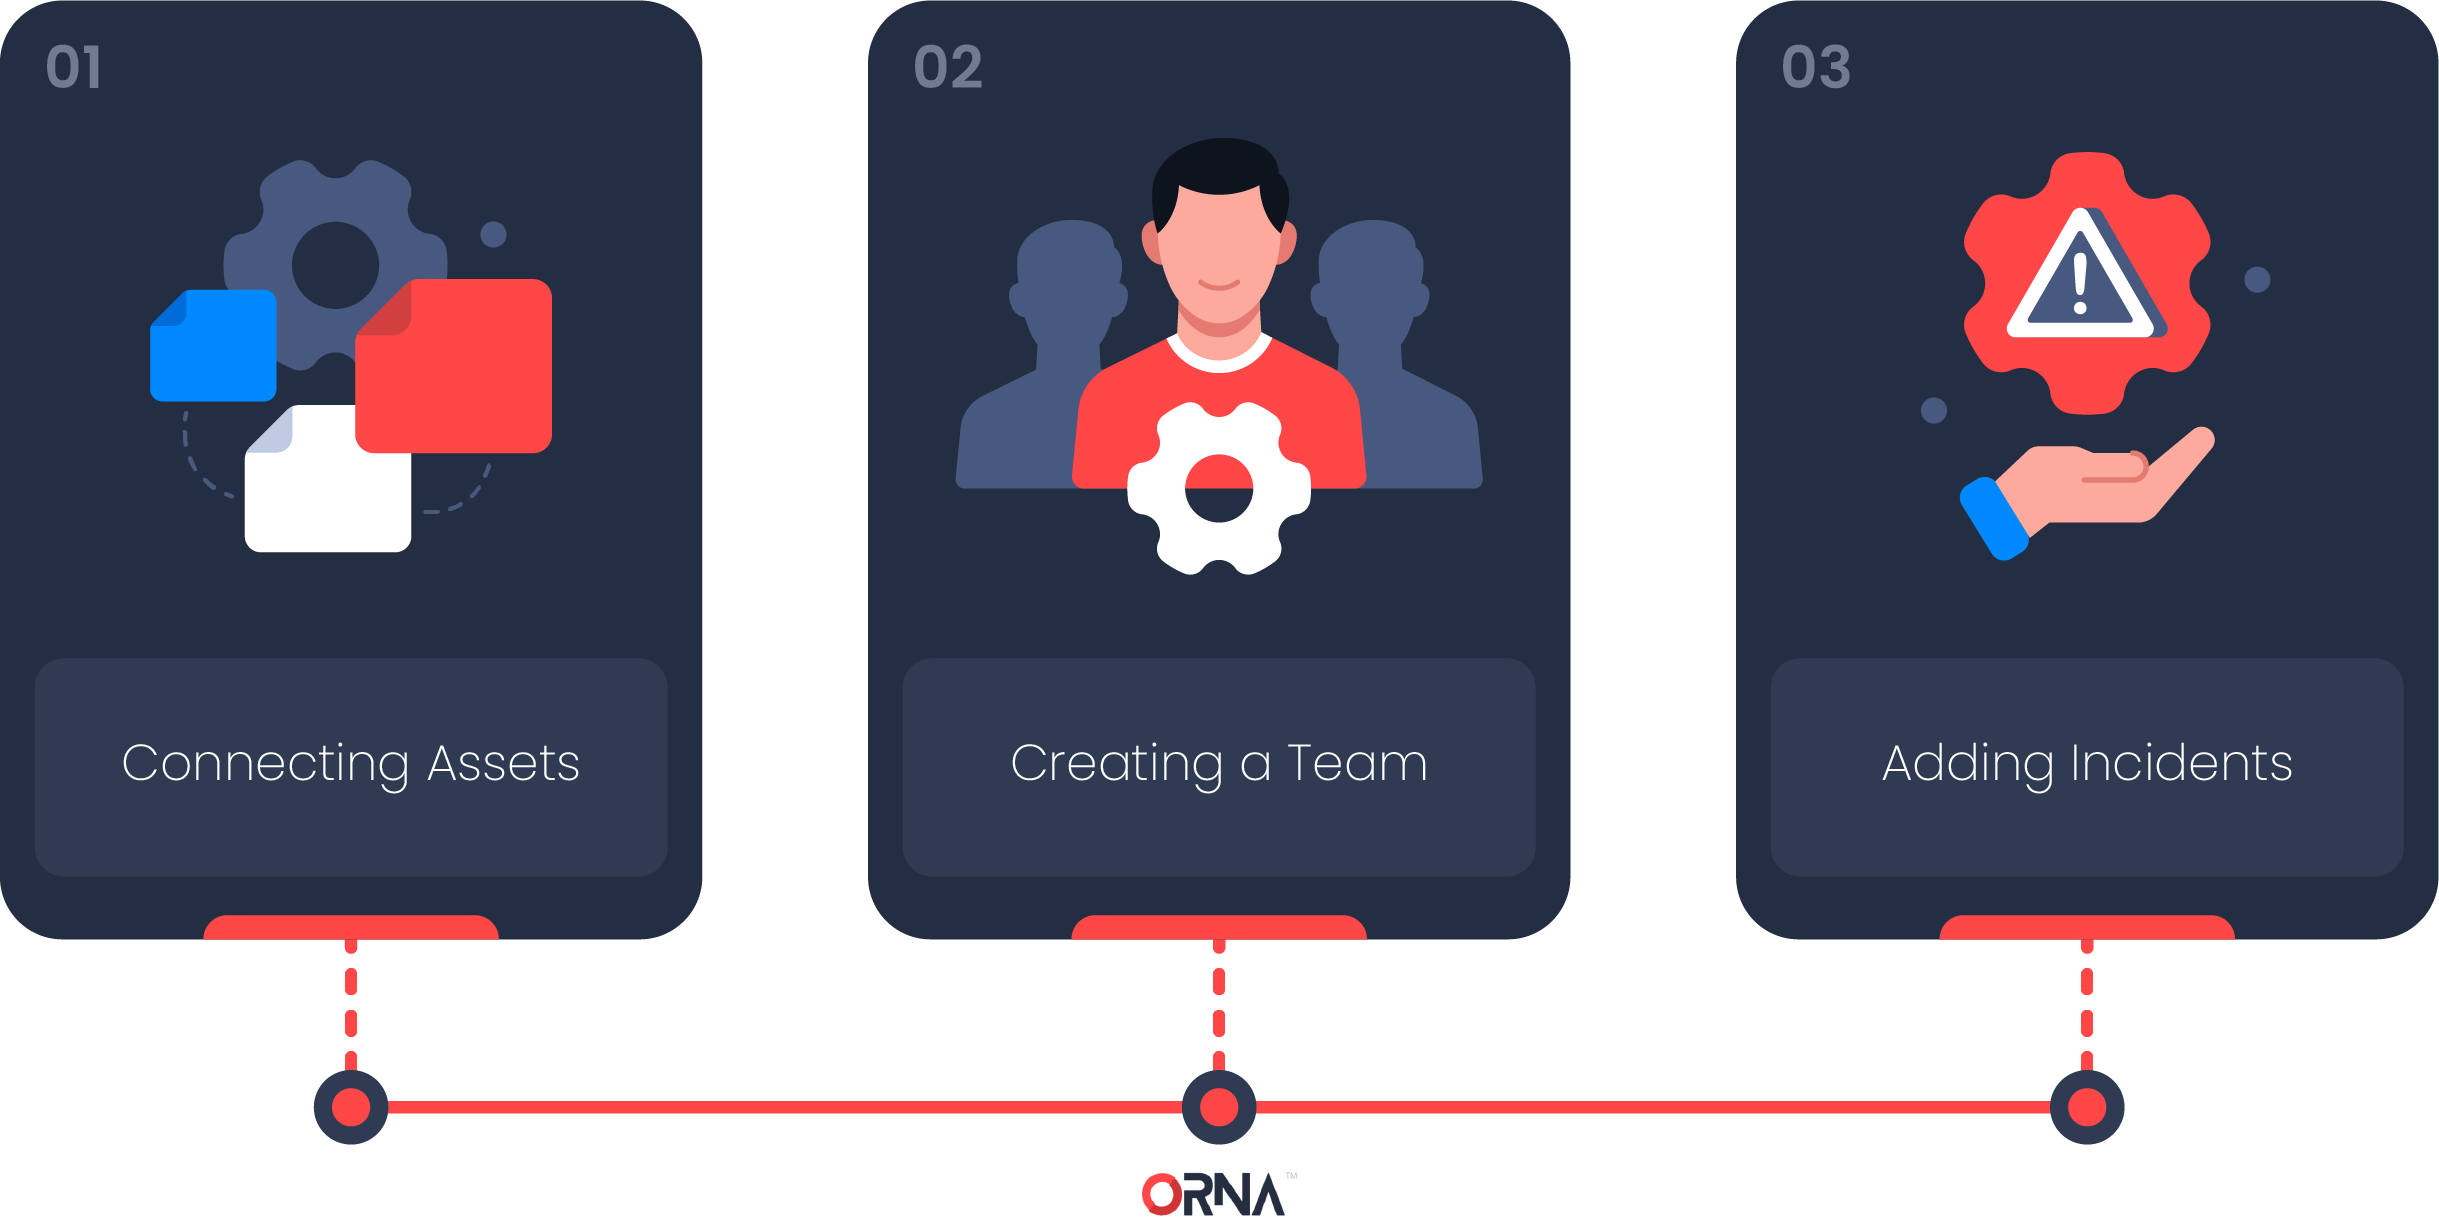
Step 1: Connect your Assets
Assets are a core ORNA concept and are required to enable a host of ORNA’s key functionalities, such as Alerts, Incidents, and Vulnerability Management. Start with adding assets that need to be protected by navigating to the Assets section and either:
- Downloading and launching ORNA’s automated installer;
- Importing assets from a CSV list, such as a ServiceNow export;
- Or adding assets manually one by one.
NoteOptions #2 and #3 will require you to manually install ORNA’s Scout agent on every asset you’d like to enable Alerts and Vulnerability Management.
To learn more, go to the Asset Management section of the guide.
Step 2: Invite your team
Next, navigate to the My Team section and populate your details, including Hours Available per Month and Notification Settings.
Most importantly, assign yourself a role that fits your set of responsibilities in the context of cyber risk management and incident response in your organization. Team roles are crucial to ORNA’s determining automatic incident response task assignments, escalation procedures, and more.
ORNA comes with various technical (CIRT Leader, Core CIRT Member, Third Party IT) and administrative (HR, Legal, CEO/COO, and others) roles. Those roles must be assigned appropriately to the person responsible for the respective duties within your organization.
You can view and customize roles, including creating your own, by clicking the Roles link at the top of the My Team section.
Once finished with your profile, you can set up the rest of your team by clicking the Add button in the top right corner of the My Team section and inviting your colleagues.
Note that ORNA’s seats are unlimited and do not affect the pricing.
Step 3: Identify and resolve Incidents
Suppose you successfully set up at least one monitored asset (indicated by the green eye icon next to the asset in the Assets dashboard) following Step 1 of this guide. In that case, you can use ORNA to automatically upgrade any Alert to an Incident in a single step. Go to the guide's Alert Management section to learn more about this.
However, you can also create an Incident manually without an underlying Alert.
To manually create an Incident, navigate to the Incidents section and click the Add button in the top right corner. The system will ask you a series of questions related to the incident, which are essential for determining the impact and urgency, reconstructing its timeline, determining the Playbook to invoke and escalations to use, team members that should participate in the incident resolution, and more. Go to the guide's Incident Management section to learn more about this.
📩 Get 24/7 Expert Support
If you have any questions about the platform, encounter an issue, or require assistance with an ongoing cyber incident, you can access ORNA's free 24/7 support feature in the bottom right corner of the platform, and a certified SecOps expert will assist you within minutes.
Updated 9 months ago