Report Management
The Reports feature allows ORNA users to instantly summarize incidents marked as Resolved. A unique hexadecimal password protects the resulting secured PDFs which have a highly configurable level of detail and depth, and can be shared with the desired audience outside the ORNA platform.
To access Reports, navigate to the Reports section.
Reports features
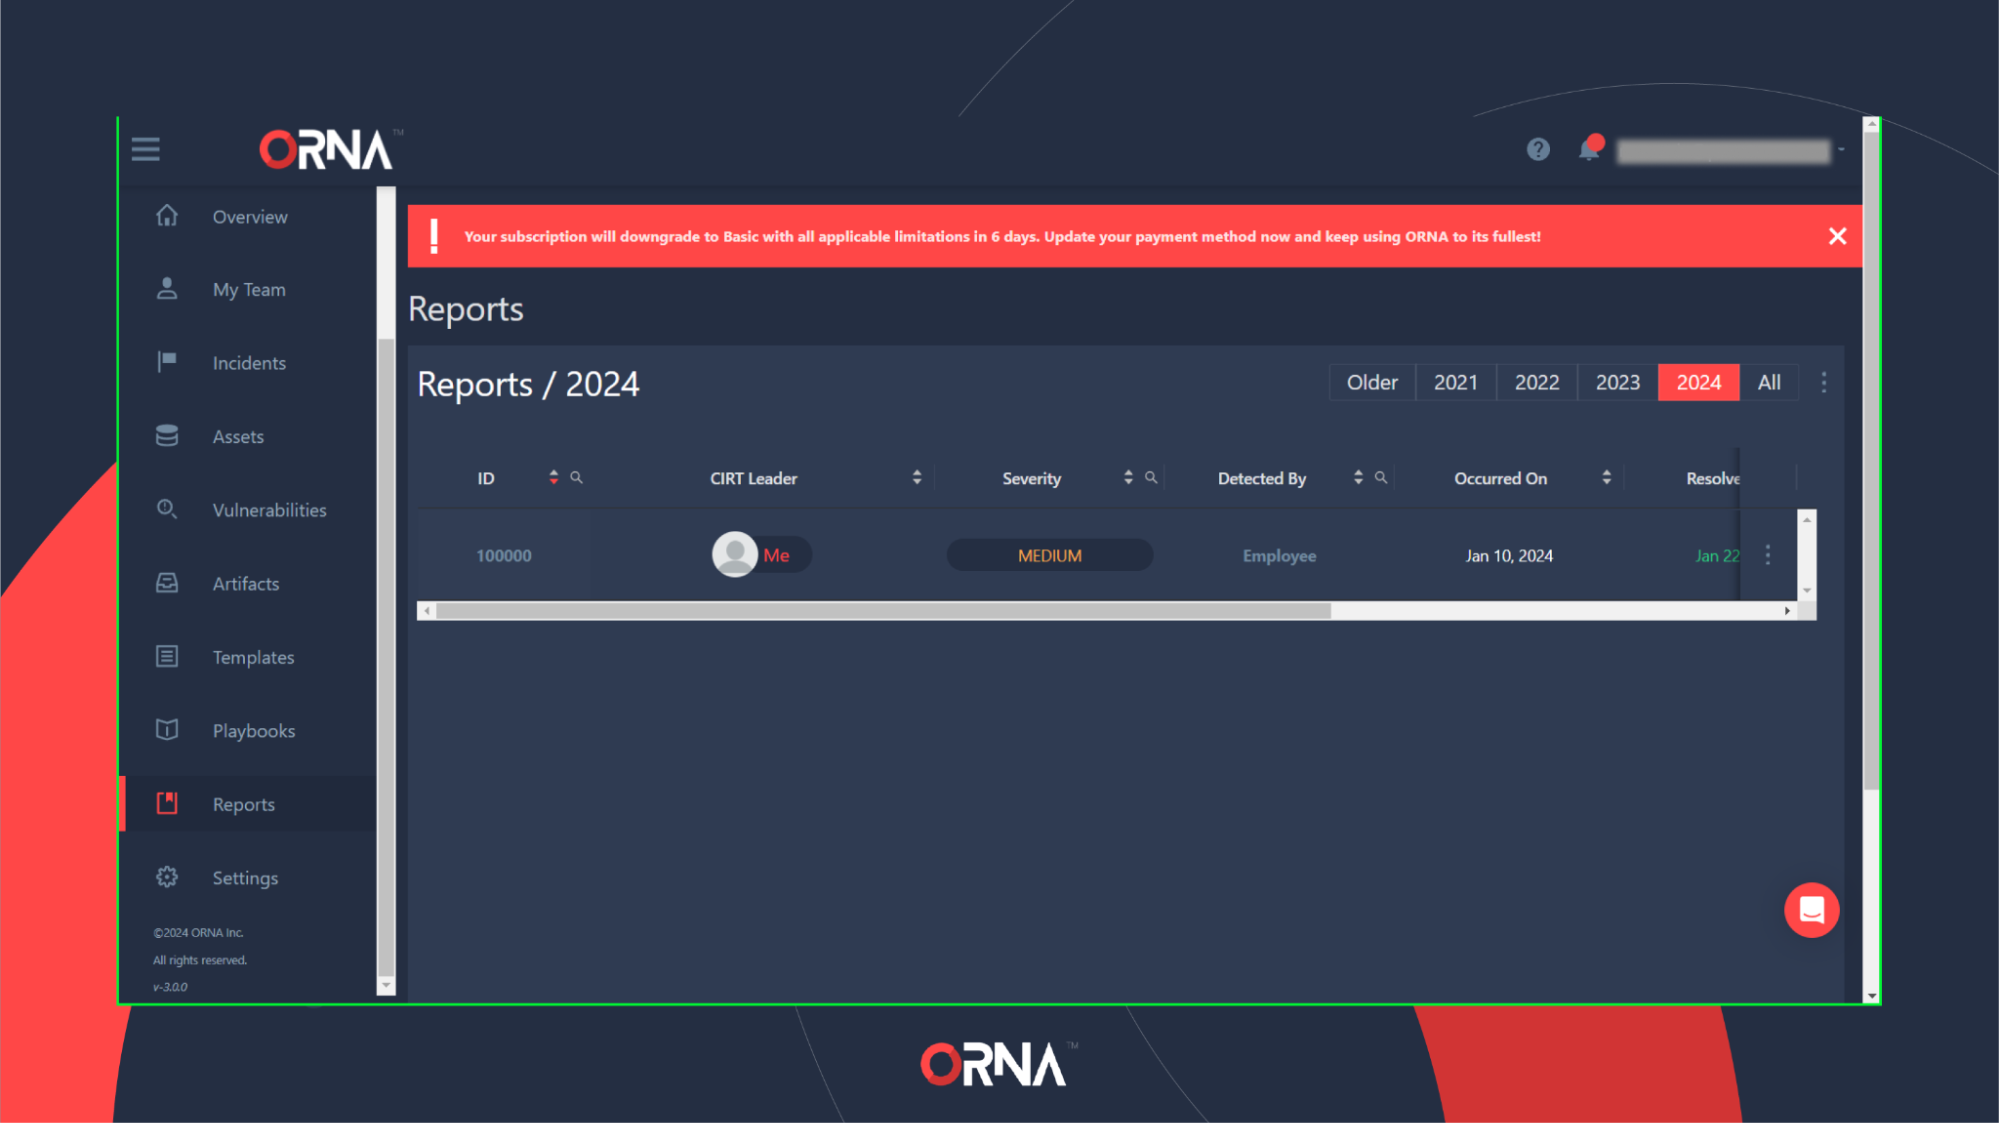
- The list of reports that are available to generate will appear here. Each record displays key details of a respective incident, such as its severity and when it was marked as Resolved.
NoteCurrently, you are only able to generate reports for incidents that have been marked as Resolved. To learn more about resolving incidents, view the Resolving Incidents section of the Incident Management guide.
Reports dashboard
- You can filter the reports in the list using the date filter.
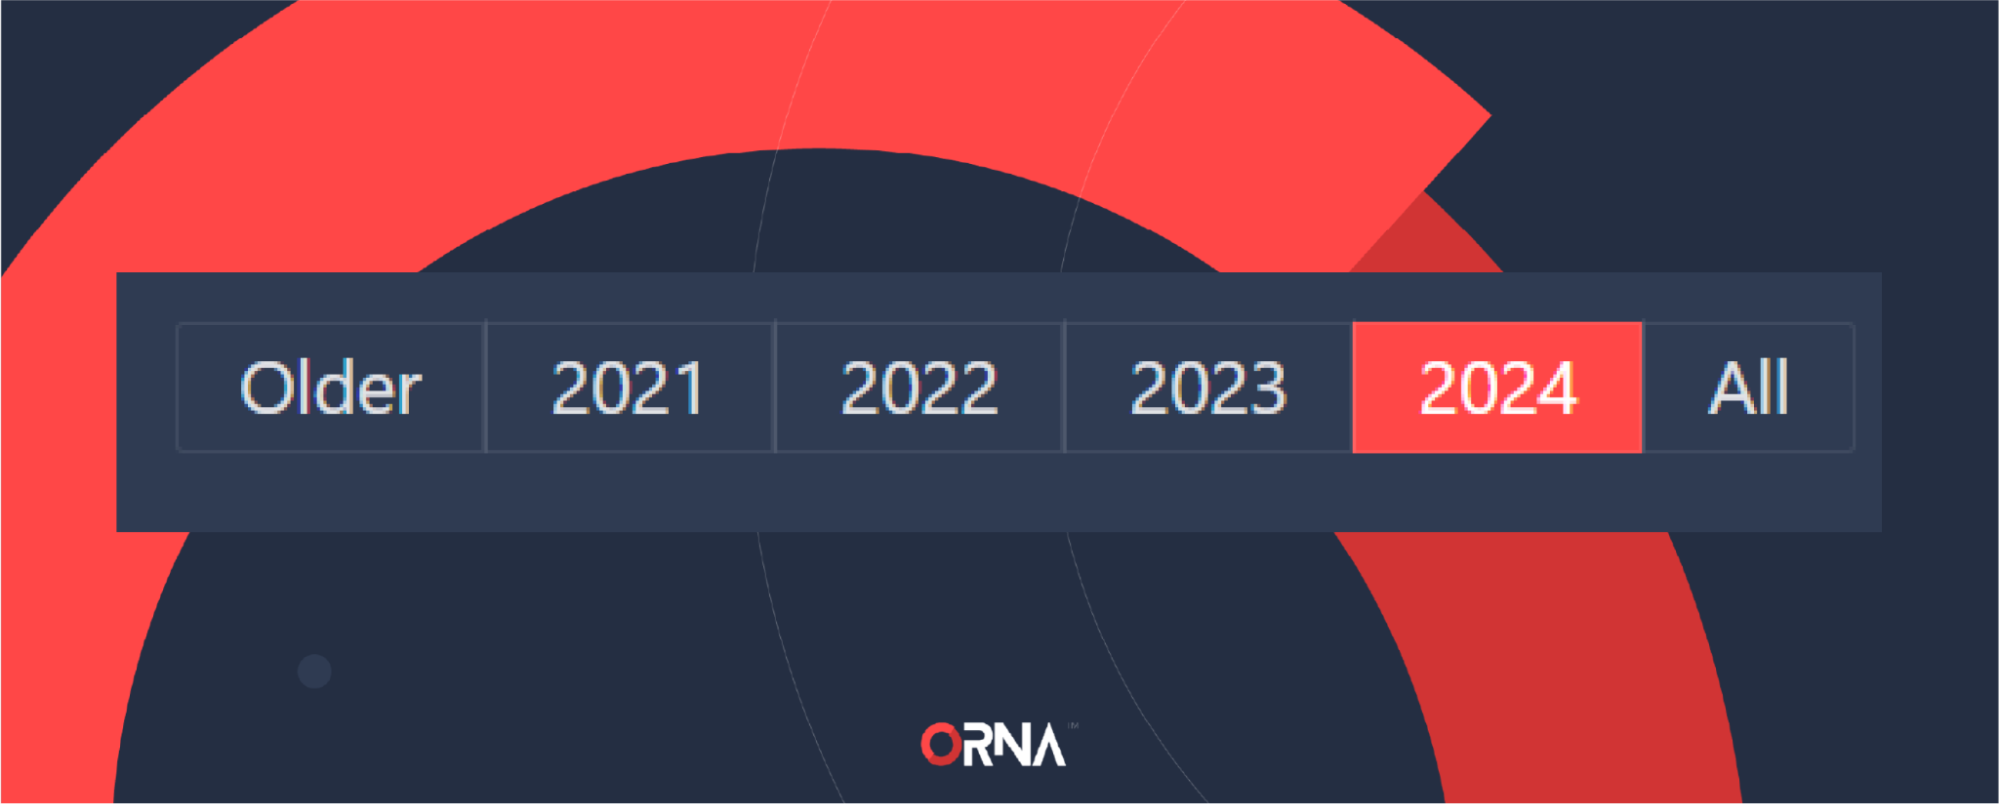
Reports timeframe filter
Generating a new Report
- Navigate to the Reports section on the sidebar of the platform.
- Click the “...” Options button on the right-hand side of the incident record for which you want to generate a new report.
- Select the Generate Report option. A popup will appear, allowing you to customize the level of detail that this report's PDF should include.
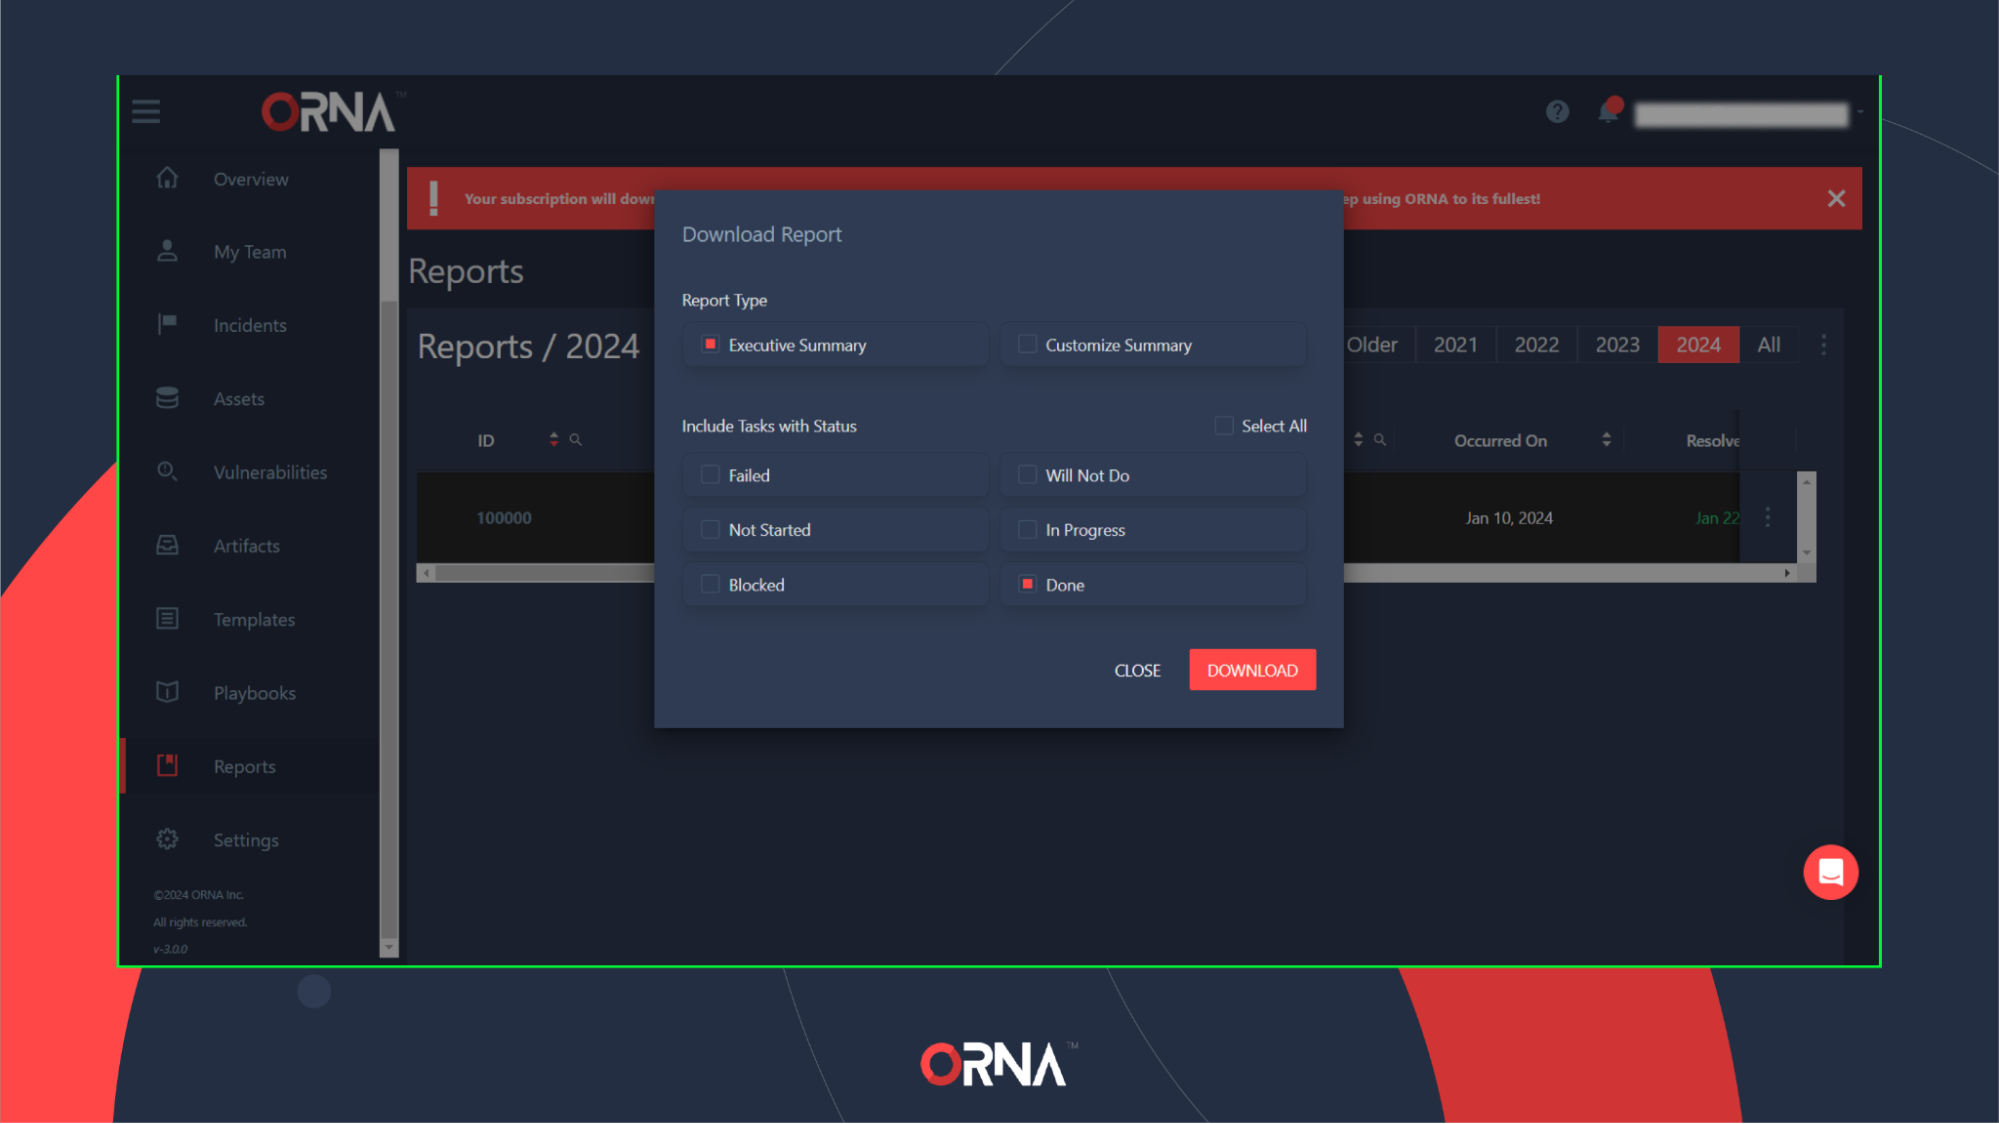
Generating a new PDF report for a resolved Incident
- After selecting the desired report options, click Download. Your PDF report will be downloaded shortly.
- To access the report, you must input its unique autogenerated password. To obtain the password, click the “...” Options button on the right-hand side of the incident record to which the report belongs. Select View Password and copy the value.
- Due to the inherently sensitive nature of incident reports, please carefully consider the individuals you choose to share the report, its unique password, and the means of doing so.
Updated 10 months ago